Help! A tailor butchered my selvage jeans
By Maurice Malone Published May 5, 2020 (updated Oct. 9, 2021 by Korissa Frooman)
"Help! A tailor butchered my jeans," are words often expressed to us from those with coveted selvage jeans who put their faith in traditional tailors and local dry cleaners. As well, some people learn the hard way that do-it-yourself (DIY) and dress pant tailoring techniques don't work correctly, or look appealing on jeans before coming to us for professional denim alterations.
When it comes to reworking or fixing other tailor's work, we can help. However, expect holes from the previous sewing in some areas - we can't do anything about that.
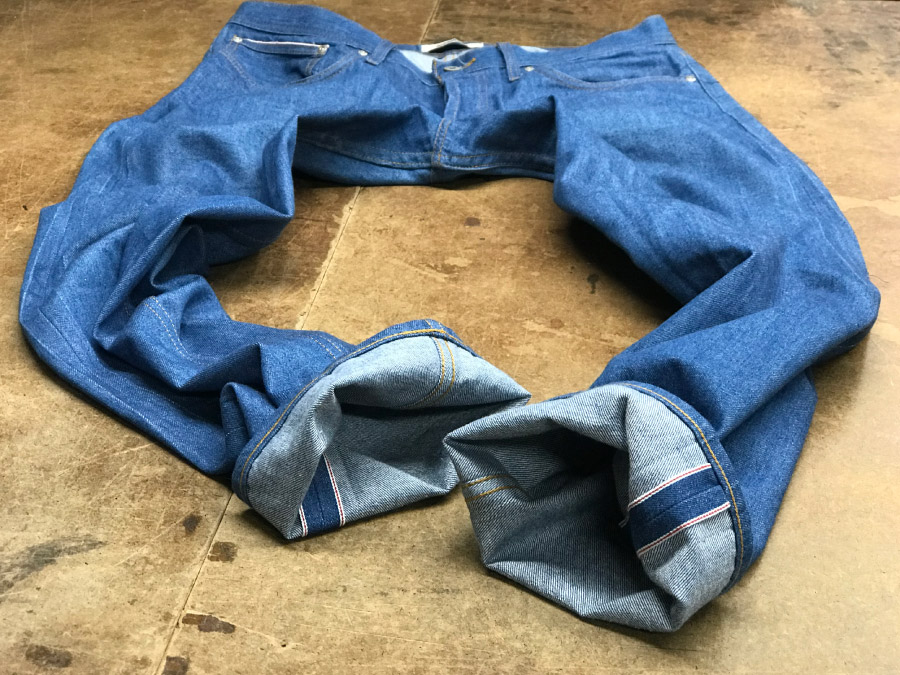
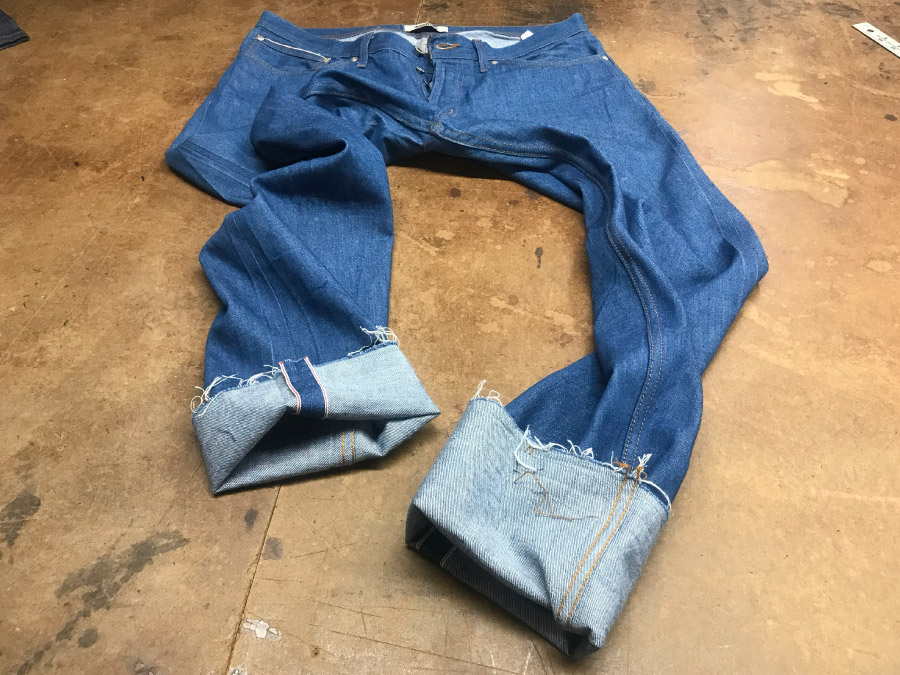
Take a look at this pair of light blue Naked and Famous jeans. We rehabilitated the selvage outseams and properly tapered them from the inseam.
It's sad when a lot of money and work is put into a bad job, as seen here. The tailor tapered the jeans from both the inseam and the outseam as if working on a pair of dress trousers. Jean tapering should be done from the inseam.
Most tailors don't have the proper machinery, so corners are cut to get the job done. Lap seams and chain stitching are replaced with trouser techniques such as darts and plain stitching.


Fixing a tailor's mistakes & correctly tapering jeans from the inseam
It takes time to fix bad sewing. Picking apart sewing has to be done carefully. Sometimes, un-doing bad tailoring takes more time than doing it correctly.
With the following images, we will take you through the step-by-step process of undoing a bad tapering job and re-sewing the jeans correctly. We pick up the process below after removing the hem and inseam darts:
Step 1:
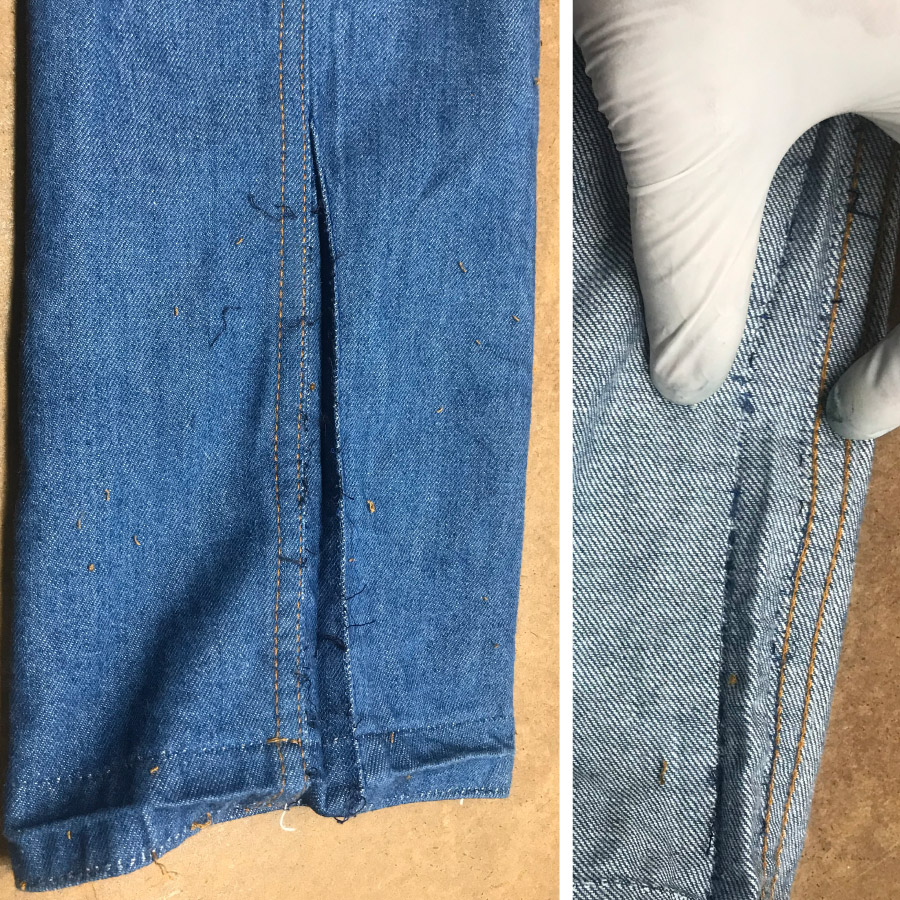
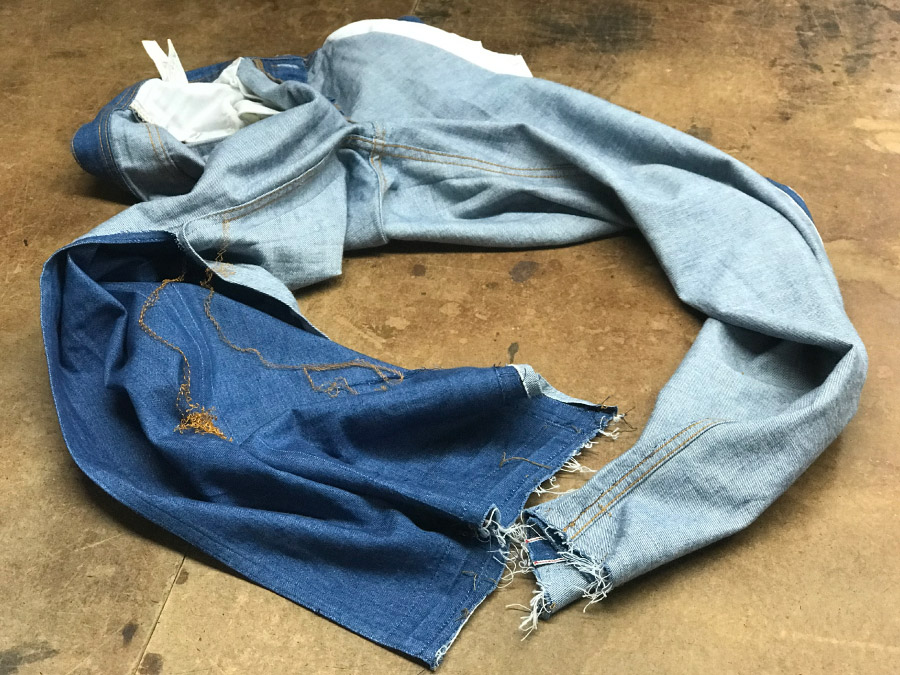
We took apart the outseam, which was a glaring eyesore to anyone who knows selvage denim. The goal: sew it back together with a proper 1/2" seam allowance. Making this job worse, the previous tailor tapered the outseam, up past the pocket bags and into the hip area.
Step 2:
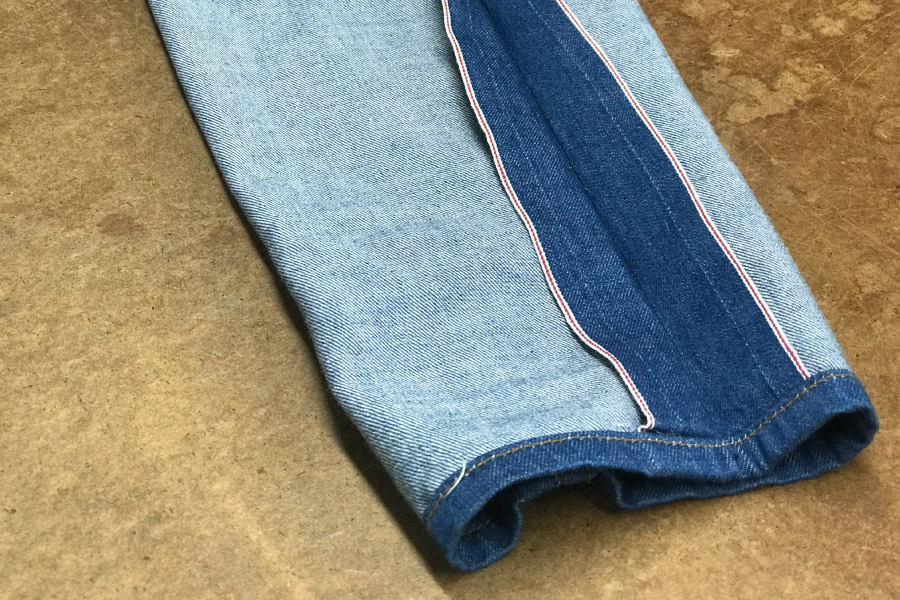
The outseams are chain stitched back together. The selvage now has a 1/2-inch seam allowance as the original and is the most common.

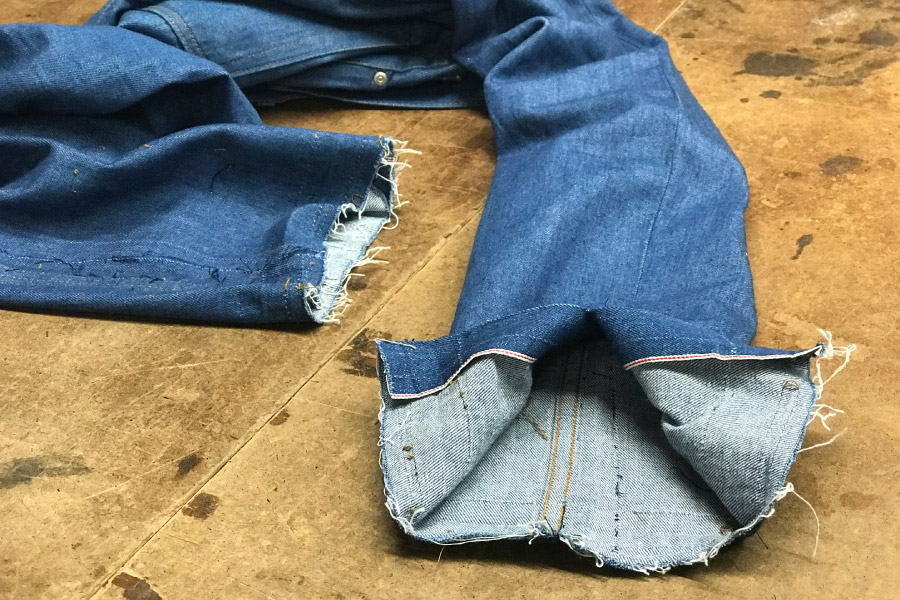
Step 3:
Now that the selvage is back to its original spec and look, we pull out the double-needle chain stitching at the inseam. This allows us to begin correctly tapering the jeans.
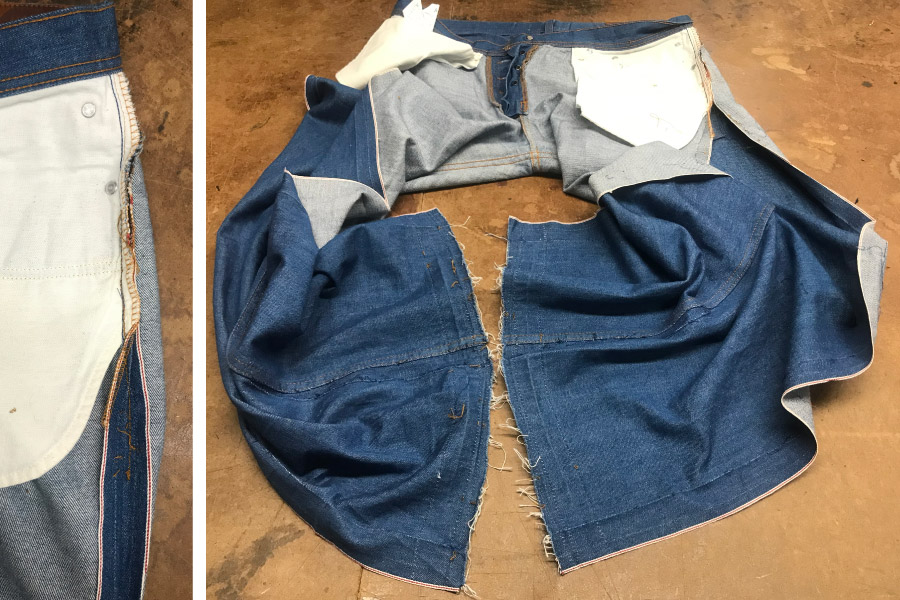
Step 4:
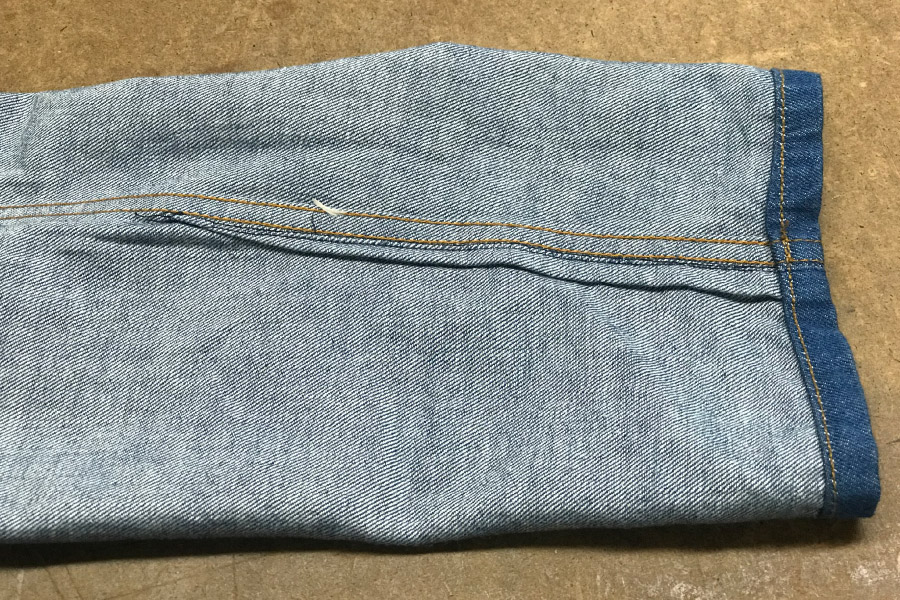
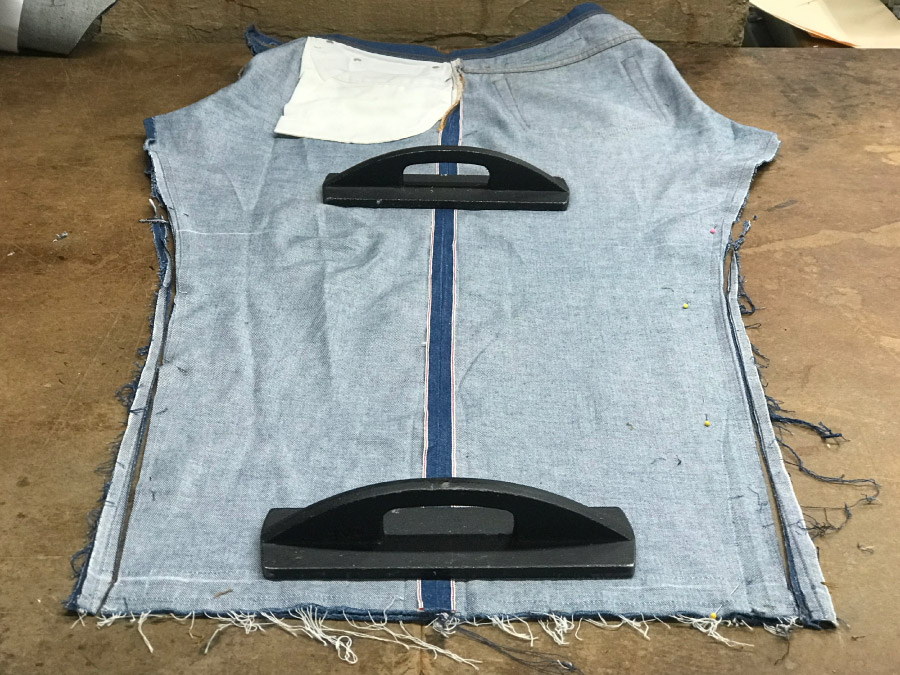
To evenly draft the new tapered leg, the jeans are opened with the selvage outseams as the center point. The requested measurements are drawn from the hem and eased out just above the knee.
Step 5:
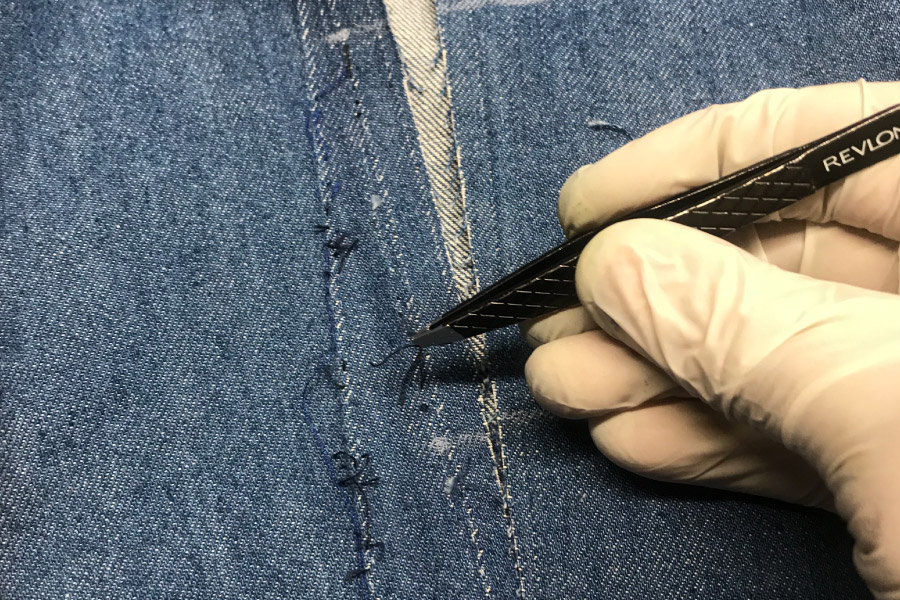
We pick out the loose stitches leftover from un-doing the seams of the previous work. If left in, they will be much harder to remove later or cause errors in the stitching.
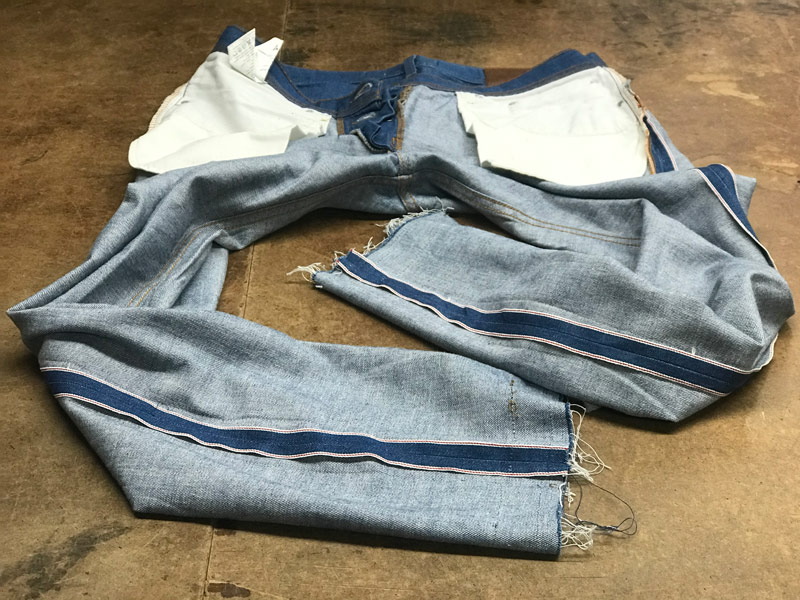
Step 6:
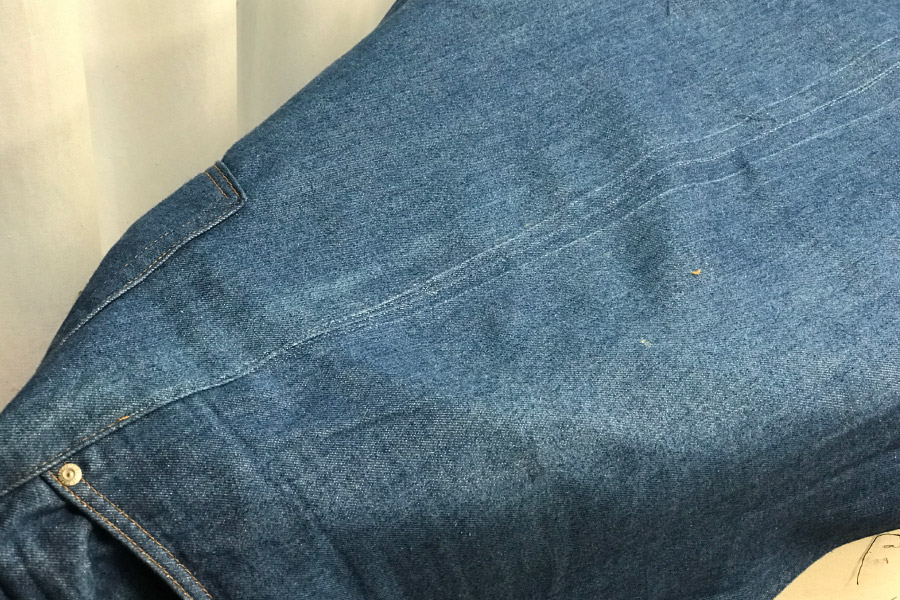
As predicted, holes from the previous work are visible. We press flat the new outseams and holes to try to minimize the damage. A note of advice: If your jeans are incorrectly altered, don't wear them! Send them in for repair ASAP. Wearing the jeans will cause fade marks, making the seam lines more visible.
One of the great things about denim, repairs, and alterations work gives it character. Reconstructions, restorations, repairs, holes, and fading are natural beautifying scars. It's poor tailoring and hacks that can make jeans look silly.
Step 7:
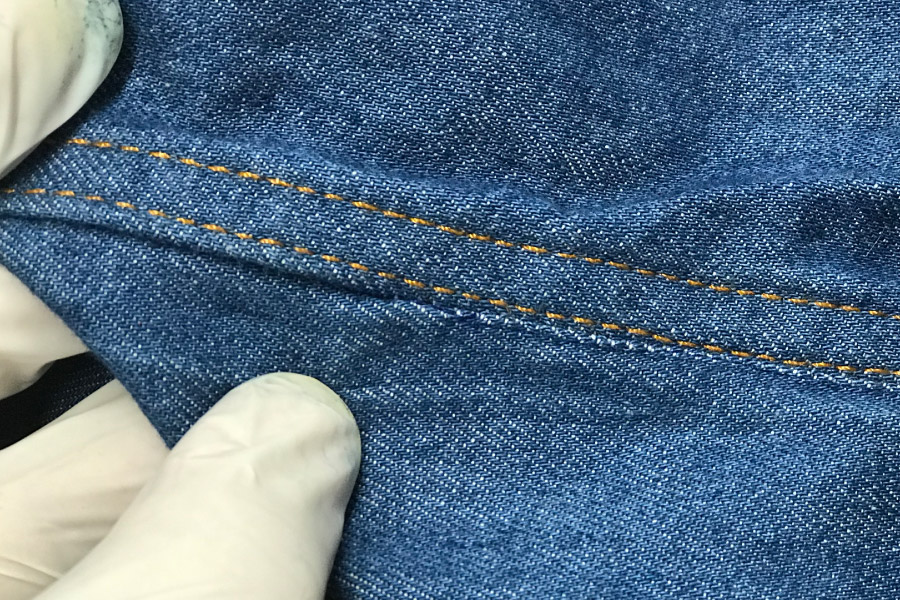
The inseams are marked and ready for lap seam sewing. The chalk marks help us to precisely hit the key points at the crotch and hems.

Step 8:
With the tapered inseams sewn back together at the requested specs, the jeans are close to being finished. In jeans with a double-stitched lap seam, there's no good DIY way to taper. The fabric and seams are just too heavy for home sewing machines and lightweight industrial machines used by local cleaners or tailoring shops.
Step 9:
As mentioned earlier, the hip was altered. The topstitching was partially removed up to the pocket opening, leaving a harsh light area where the bar tack was sewn. Our new stitching was re-sewn directly over the original line and we applied a new bar tack. A proper heavy-duty bar tack is one thing you are very unlikely to find with DIY or tailoring efforts.
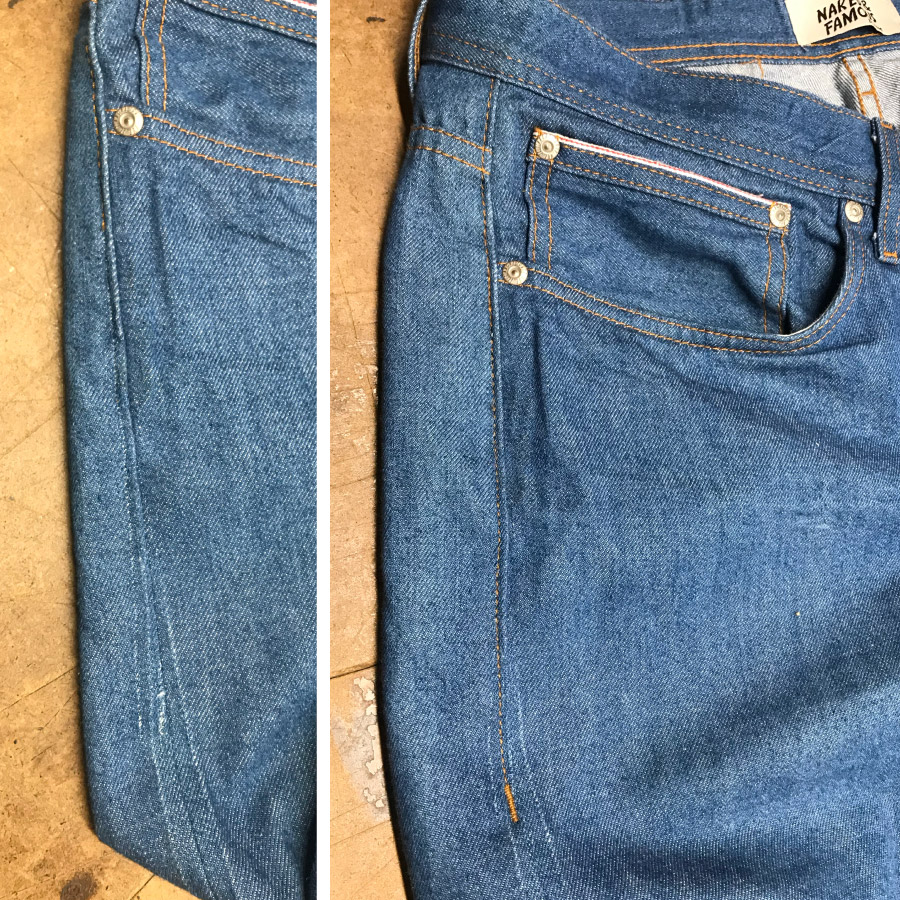
Step 10:
Chainstitch hemming is applied, and the jeans get a final pressing. The customer now has a pair of jeans they can wear with confidence. If desired, even roll the hem.